Why the Transfer Method You Choose Matters
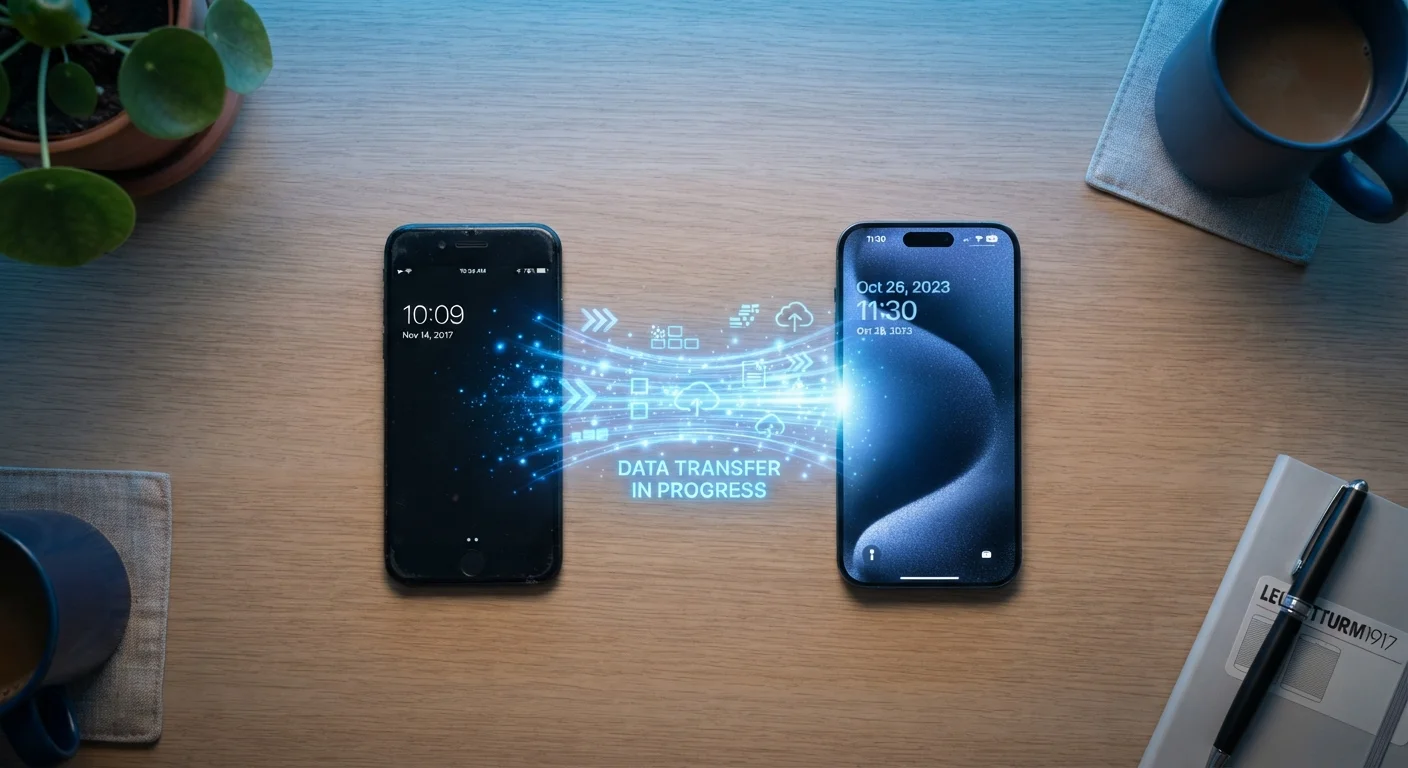
Not every transfer route moves the same data. A Google account restore rebuilds your apps and settings but may skip locally stored files. A cable transfer between two Androids typically captures more - including some app-specific data. Apple's Quick Start is among the most complete consumer transfer tools available, moving nearly all content directly between iPhones without requiring a cloud intermediary.
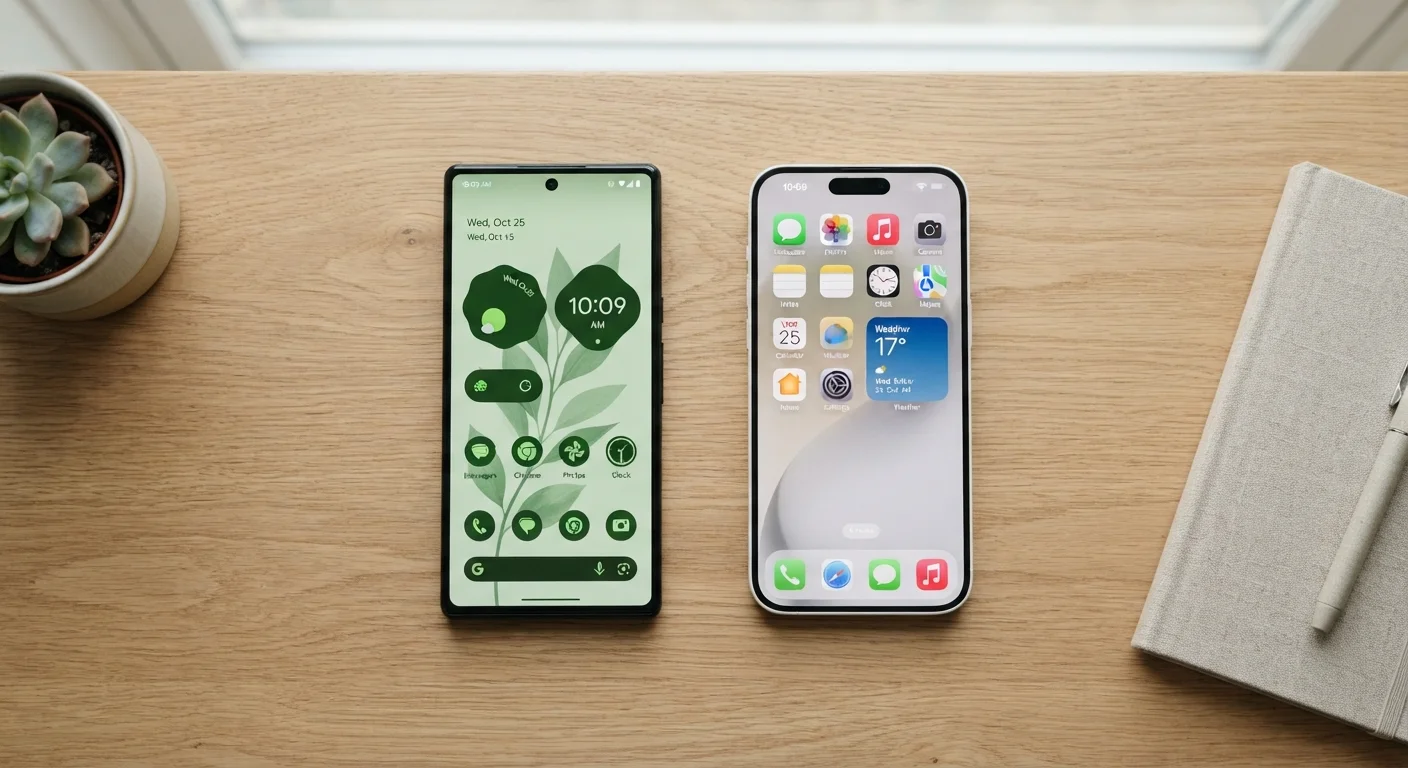
If you're switching platforms entirely, expect a more manual process. App ecosystems don't overlap - Android apps don't run on iOS and vice versa - and some paid app purchases won't transfer. For a full comparison of what changes when you switch operating systems, see our Android vs. iOS breakdown.
Before you begin, gather your tools and confirm you meet the prerequisites below.
What you will need
Google Backup (Android)
Backs up contacts, app data, call history, and settings to your Google account for restoration on the new device.
iCloud Backup (iOS)
Creates a wireless backup of your iPhone's content and settings for seamless restoration during new iPhone setup.
Quick Start (iOS to iOS)
Apple's proximity-based transfer tool that moves data directly from one iPhone to another over a wireless connection.
Google's Switch to Android app (iOS to Android)
Moves contacts, photos, calendar events, and some app data from an iPhone to a new Android device via cable.
USB-C to Lightning or USB-C to USB-C cable
Enables a direct wired connection for faster, more reliable data transfer between devices.
Step-by-Step Transfer Instructions
Follow the steps below in order. The process works for same-platform transfers (Android to Android or iPhone to iPhone) and cross-platform moves, with platform-specific notes at each relevant stage.
Back Up Before You Begin
Always create a fresh backup of your old phone immediately before starting the transfer. If anything goes wrong mid-process, a current backup is your only recovery option. For Android, use Google Backup in Settings. For iPhone, use iCloud Backup or a local backup through a Mac or PC.
Charge both phones and connect to Wi-Fi
Plug both devices in and connect them to the same Wi-Fi network. Transfers can take 20-45 minutes depending on your data volume, and a dropped connection or dead battery mid-transfer can corrupt files or cut the process short.
Back up your old phone
Android: Go to Settings > System > Backup and confirm Google Backup is enabled. Tap Back up now and wait for confirmation.
iPhone: Go to Settings > [Your Name] > iCloud > iCloud Backup and tap Back Up Now. Alternatively, connect to a Mac or PC and create a local backup through Finder or iTunes.
Start setup on your new phone and select the transfer method
Power on the new phone and follow the setup prompts until you reach the data transfer or restore screen.
- iPhone to iPhone: Use Quick Start - hold your old iPhone near the new one and follow the on-screen prompts to transfer directly, or choose to restore from your iCloud backup.
- Android to Android: When prompted, select Copy data from old device and choose cable or wireless transfer. Sign into your Google account to restore backed-up data.
- iPhone to Android: Install Google's Switch to Android app on the old iPhone, connect both phones via cable, and follow the guided steps.
- Android to iPhone: Use Apple's Move to iOS app on your Android device. Both phones must be on Wi-Fi; the app creates a private network between them.
Verify contacts, photos, and app data
Once the transfer completes, open your Contacts app and scroll through to confirm entries look correct. Open your Photos or Gallery app and spot-check recent images, videos, and albums. Re-download any apps that didn't carry over automatically from the App Store or Google Play - your purchase history is preserved on both platforms.
Reconfigure accounts and apps that need manual setup
Several categories of apps require manual re-login or reconfiguration regardless of platform:
- Banking and financial apps - typically require identity re-verification on a new device
- Two-factor authenticator apps - must be migrated using the app's own export or transfer function
- Messaging apps - SMS history transfers with the phone, but apps like WhatsApp have their own backup and restore process
- Streaming services - simply log back in; downloaded content may need to be re-downloaded
Test and then safely retire your old phone
Use your new phone for at least 24-48 hours before wiping the old one. Test calls, messages, email sync, and any apps you use daily. When confident everything is in order, perform a factory reset on the old device before selling or recycling it to erase all personal data. For guidance on what to check if you're passing it on, see our checklist for refurbished and used smartphones.
Authenticator Apps Don't Transfer Automatically
Two-factor authentication apps (such as Google Authenticator or Microsoft Authenticator) store codes locally and do not back up through standard phone transfers. Before switching devices, export or migrate your authenticator accounts manually using that app's built-in transfer feature. Failing to do this can lock you out of important accounts.
Keep Your Old Phone Active During Setup
Don't factory-reset or sell your old phone until you've verified every app, account, and file has transferred correctly. Spend at least a day using the new phone normally before wiping the old one. This window is your safety net for anything you missed.
What Doesn't Transfer and How to Handle It
Even a successful transfer leaves gaps. Here's what commonly requires attention after setup:
- App-specific local data - games with offline saves, notes apps without cloud sync, and some productivity tools store data locally. Check each app's own backup or export options beforehand.
- SMS history on cross-platform moves - text message history doesn't migrate cleanly between Android and iOS. Third-party tools exist but results vary.
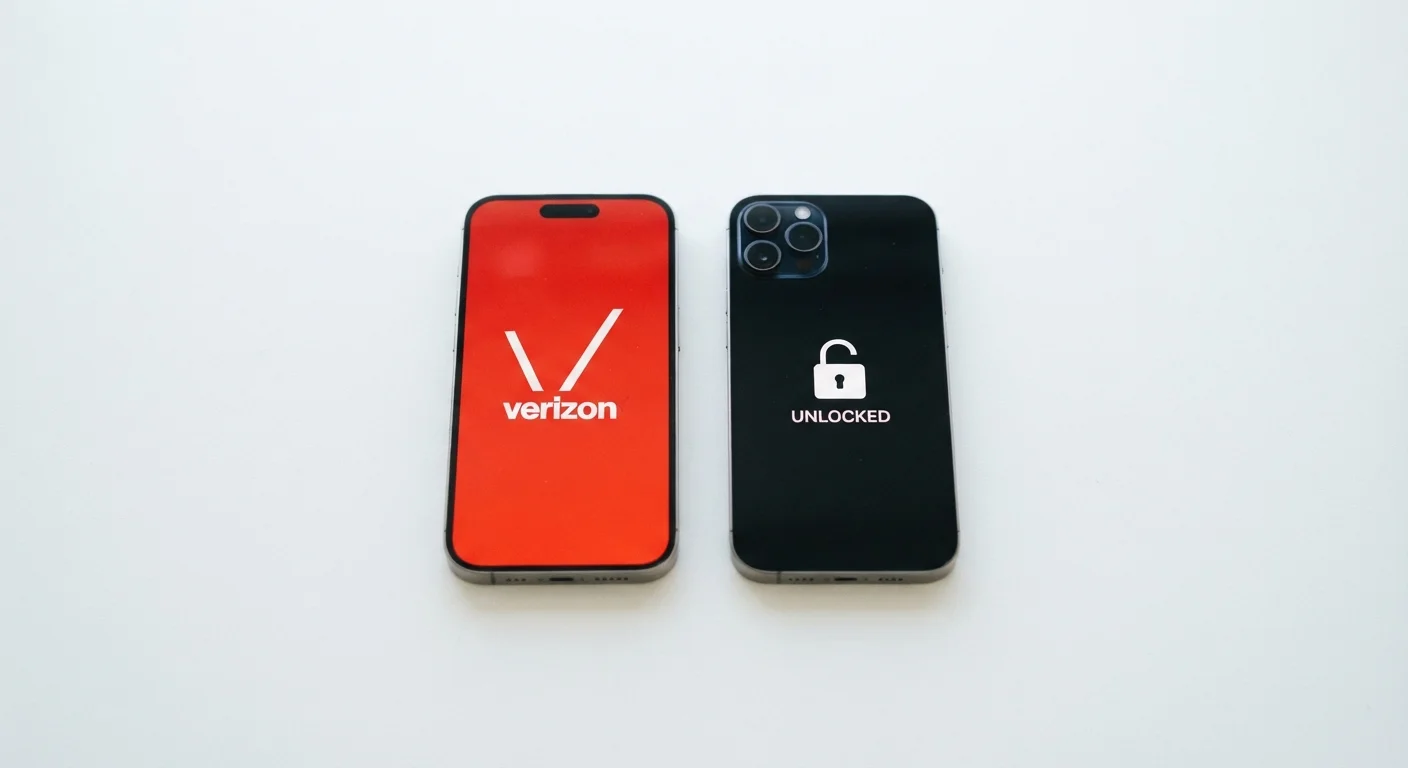
- eSIM and carrier settings - if your new phone uses an eSIM, contact your carrier to transfer your number digitally. Physical SIM users simply move the card. For context on how locked vs. unlocked phones affect this process, see our unlocked vs. carrier-locked phone guide.
- Health and fitness data - Apple Health and Google Fit data may not export cleanly to the other platform's ecosystem.
Once you're fully set up and running on the new device, it's worth reviewing habits that affect long-term performance. Our guide on what quietly drains your phone's lifespan covers charging habits, heat exposure, and software updates that matter from day one.