Why Planning Before Drilling Actually Matters
A wall-mounted TV looks effortless when it's done right - and catastrophic when it isn't. Holes drilled into drywall with no stud backing, a screen positioned so high it strains your neck, cables dangling in plain sight: these are entirely avoidable outcomes, and they almost always trace back to skipping the planning phase.
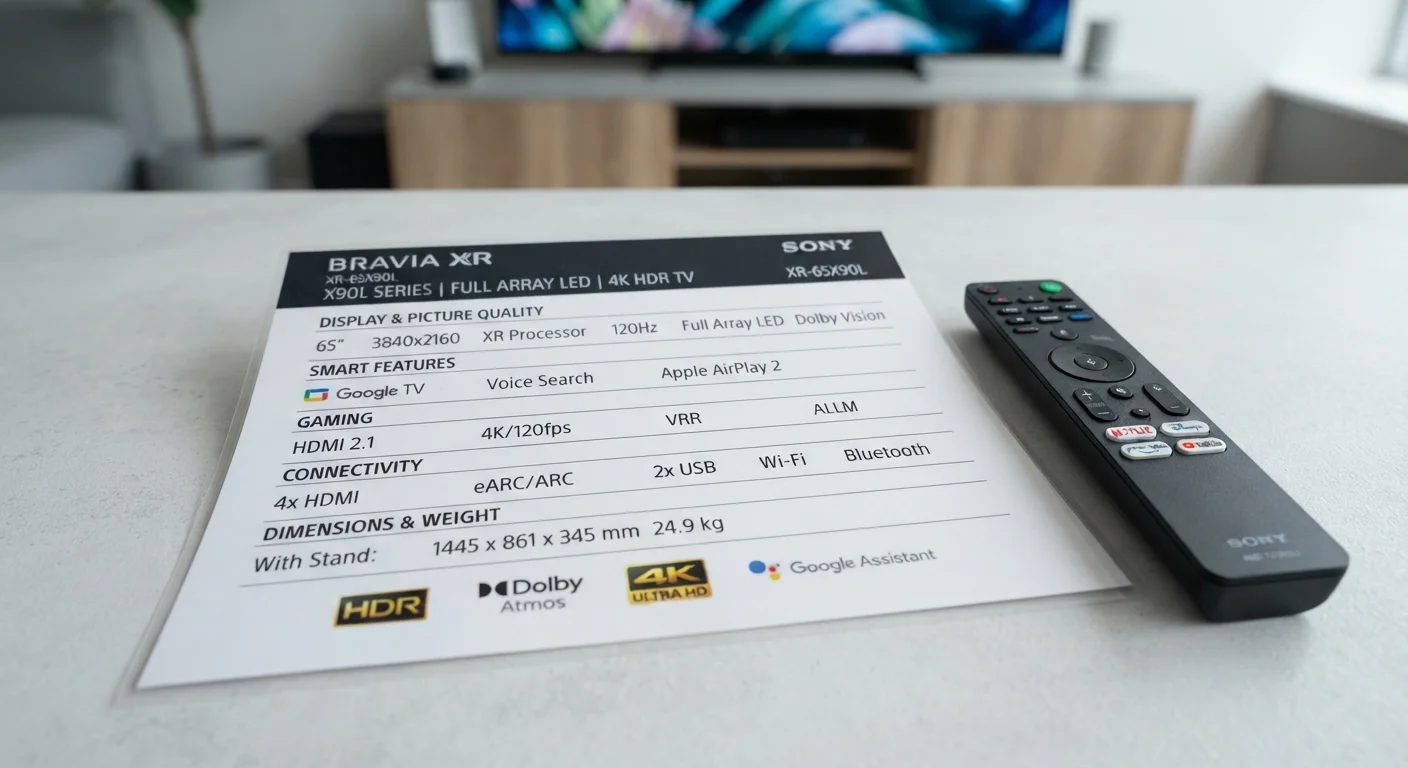
This checklist walks you through the decisions that actually shape the viewing experience - wall structure, mount selection, height, cable management, and room-specific variables - so you can go into installation day with confidence instead of guesswork. If you're still evaluating the TV itself, our spec sheet breakdown will help you understand which numbers on the box matter for daily use.
In-Wall Wiring Requires a Licensed Electrician
Running a new power outlet inside the wall - rather than using a surface raceway - involves working with live electrical circuits. In most U.S. jurisdictions this work requires a permit and must be performed by a licensed electrician. Do not attempt to relocate or add electrical outlets as a DIY task unless you are a qualified professional. Improperly installed wiring is a fire hazard.
Concrete and Masonry Walls Need Different Hardware
Standard lag bolts rated for wood studs are not appropriate for concrete, brick, or tile walls. Using the wrong fasteners in masonry can result in mount failure under load. Consult your mount's documentation for masonry-specific hardware specifications, and consider hiring a professional installer if you're unfamiliar with anchor selection for these materials.
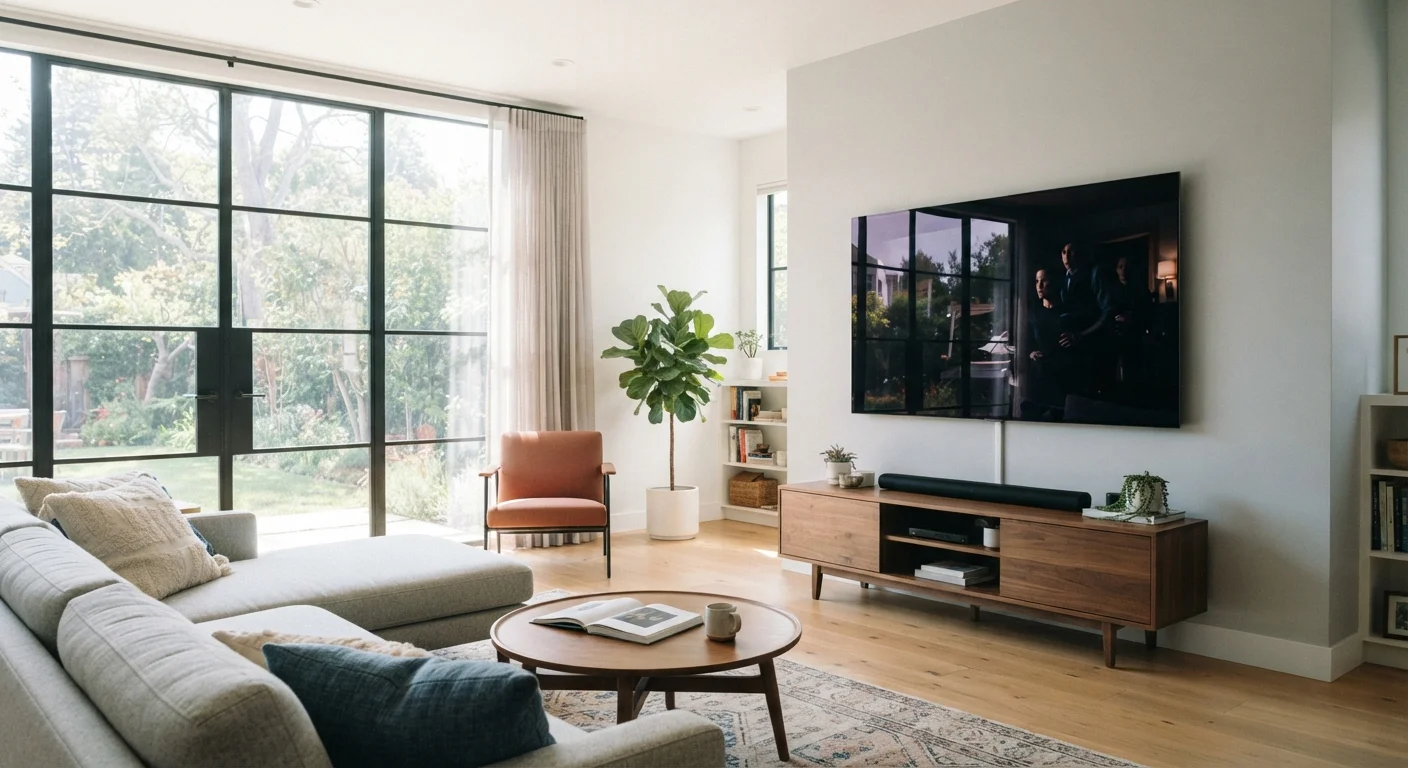
Working through this checklist room by room is especially valuable in spaces with unusual lighting or window placement. Managing glare and contrast in bright rooms is a separate discipline worth reviewing if your planned wall faces a window.
What You'll Need Before You Start
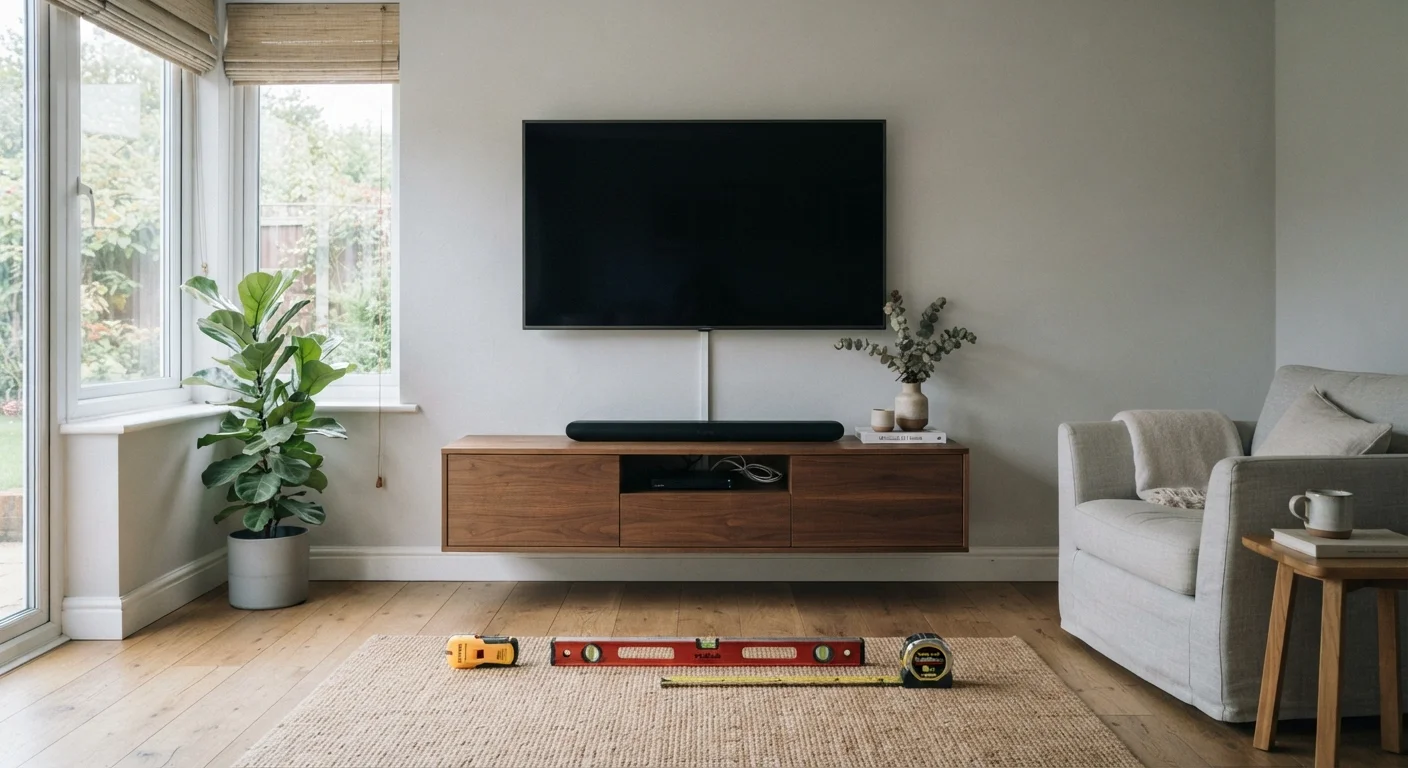
Gather these tools before running through the checklist. Having the right equipment on hand prevents mid-process trips to the hardware store and keeps measurements accurate.
Electronic Stud Finder
Locates wood studs and detects electrical wiring or plumbing behind drywall.
Tape Measure
Used to measure wall dimensions, stud spacing, viewing distance, and TV height placement.
Bubble or Digital Level
Ensures the mount bracket is perfectly horizontal before final bolts are tightened.
Pencil and Painter's Tape
Marks stud locations and simulates screen position on the wall without damaging the surface.
Power Drill and Appropriate Bits
Drives lag bolts into studs or, with masonry bits, into concrete and brick walls.
Cable Raceway or In-Wall Conduit Kit
Routes HDMI and power cables neatly from the TV to nearby outlets or devices.
Cardboard (cut to TV dimensions)
Creates a physical template for visualizing the TV's footprint on the wall before any drilling.
The Full Planning Checklist
Work through each group in order. Items marked must are non-negotiable for a safe, functional install. Items marked should significantly improve the result. Nice-to-have items polish the final setup.
Wall Assessment
Mount Selection
Height and Viewing Angle
Cable Management and Power
Final Verification
Never Mount Into Drywall Alone
Drywall anchors - even heavy-duty toggle bolts - are not a substitute for stud mounting when supporting the combined weight of a large-screen TV and mount bracket. A 65-inch TV can weigh 70-100 pounds or more; a mount failure from anchor pull-through can destroy the TV and damage the wall. Always anchor into wood studs, and verify stud location with a physical test before fully tightening bolts.
Room-Specific Considerations
The checklist above applies universally, but three room types introduce additional variables worth calling out explicitly.
Living Rooms
Primary seating distance is usually the longest in the home, which affects both screen size and resolution payoff. Measure from your main sofa to the wall and confirm the TV size you've chosen actually fills enough of your field of view to be worthwhile at that distance - a general industry reference is roughly 1.5 to 2.5 times the screen diagonal for comfortable viewing, though individual preference varies.
Bedrooms
Viewing angle changes dramatically because most bedroom viewing happens from a reclined position, not seated upright. A fixed flat mount that works in a living room often positions the screen too high for comfortable bed viewing. A tilting mount that angles the panel downward is almost always necessary. Also check that the mount's VESA pattern matches your TV before purchasing - this four-number measurement (e.g., 400×200mm) is printed in your TV's manual and must align with the mount's bolt pattern.
Kitchens and Multipurpose Spaces
These rooms often have tile, concrete, or masonry walls rather than standard drywall-over-studs construction. Standard stud-finder-and-lag-bolt installation won't apply. You'll need masonry anchors rated for the combined weight of TV plus mount, and drilling into tile requires specialty bits to avoid cracking. If you're uncertain about the wall material, consult a licensed contractor before proceeding.
Once your planning is complete and you're ready to commit to a purchase, run through our pre-purchase checklist to verify you haven't missed anything on the buying side.