Why Tire Pressure Is Worth Five Minutes of Your Time
Properly inflated tires are one of the simplest, most cost-effective things a driver can maintain. Under-inflation increases rolling resistance, which means your engine works harder and burns more fuel. It also causes tires to wear faster on the outer edges and raises the risk of a blowout under load. Over-inflation creates the opposite problem: the tire's center tread wears prematurely and the tire loses grip on uneven pavement.
Neither condition announces itself loudly until something goes wrong. That's why building a monthly pressure check into your routine matters - it takes less time than most people expect and requires no mechanical skill. Tire pressure checks are also a natural part of any pre-trip vehicle safety check, especially before highway driving or long trips.
TPMS Is a Warning, Not a Gauge
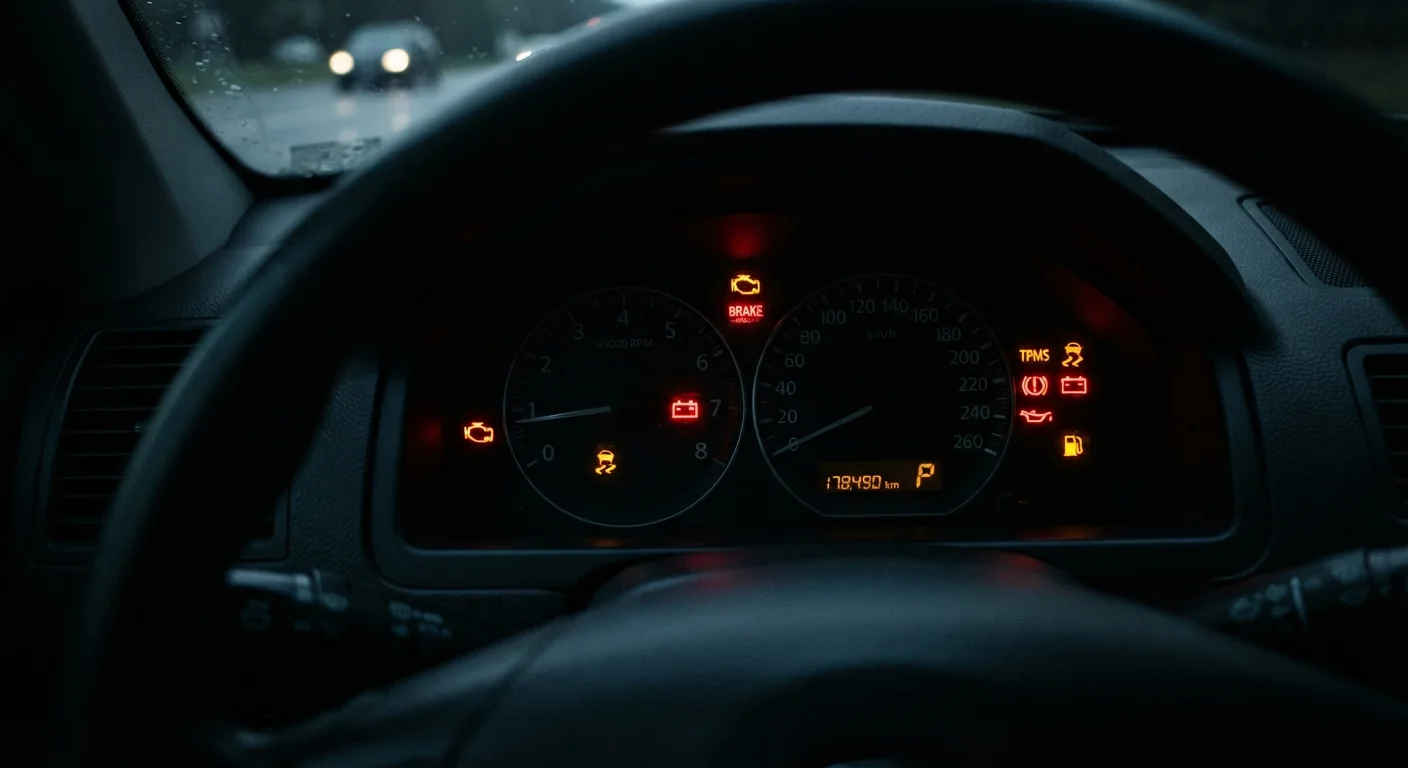
Many vehicles made after 2008 have a Tire Pressure Monitoring System (TPMS) that lights up a dashboard symbol when a tire drops significantly below recommended pressure. However, TPMS typically triggers only after pressure has fallen 25% or more - meaning your tires can be meaningfully under-inflated without triggering any warning at all. Don't rely on the dashboard light as your primary pressure check. See our guide on dashboard warning lights drivers ignore for more context on what TPMS and other alerts actually mean.
What You'll Need Before You Start
The equipment list is genuinely short. A tire pressure gauge - digital models are easier to read but stick-type gauges work perfectly well - is the only tool you must have. Air sources are widely available: most gas stations offer coin-operated air, and a portable 12V inflator can be kept in the trunk for convenience.
Tire Pressure Gauge
Measures the air pressure inside each tire so you can compare it against the manufacturer's recommended PSI.
Air Compressor or Portable Inflator
Adds air to under-inflated tires; a portable 12V model plugs into your car's power outlet.
Valve Cap Holder or Small Container
Keeps the tiny valve stem caps from rolling away while you work.
What you will need
Once you have a gauge and know your vehicle's target PSI, you're ready to start.
Step-by-Step: How to Check and Adjust Tire Pressure
Check tires when they are cold
Tire pressure readings rise as air inside heats up from driving. For an accurate baseline, check pressure before you've driven more than one or two miles, or after the car has sat for at least three hours. This is what manufacturers mean by cold inflation pressure - it's the number your door jamb sticker is calibrated to.
Find the correct PSI for your vehicle
Look at the sticker inside the driver's door jamb - it lists the recommended cold inflation pressure for the front and rear tires separately. Do not use the maximum PSI number molded into the tire's sidewall; that figure is the tire's structural limit, not your vehicle's recommendation. The two numbers are often very different.
Remove the valve stem cap
Locate the valve stem - the short rubber or metal nub protruding from the inner rim of each wheel. Unscrew the small cap counterclockwise and set it somewhere you won't lose it. Losing a cap leaves the valve exposed to dirt and moisture, which can cause slow leaks over time.
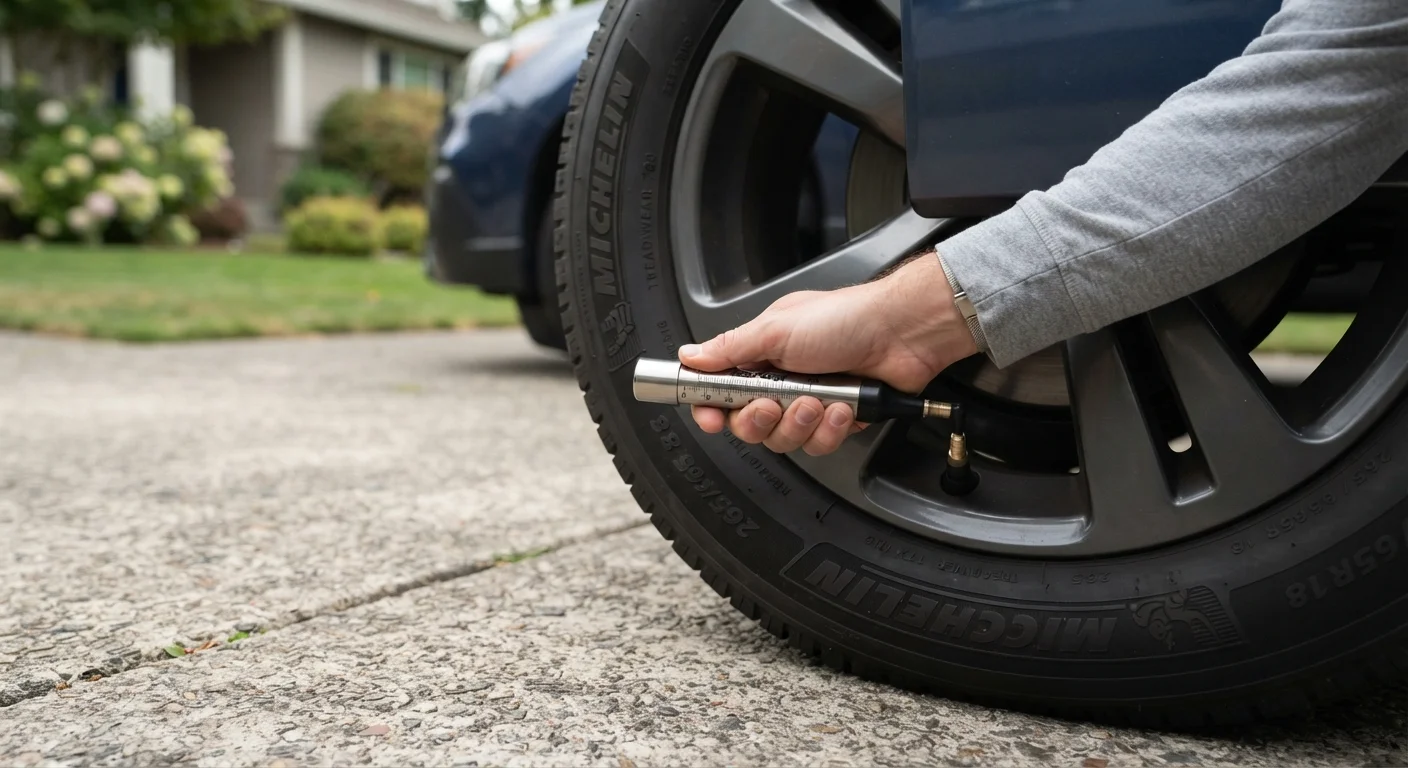
Press the gauge firmly onto the valve stem
Place the open end of your gauge squarely over the valve stem and press down firmly in one smooth motion. A hissing sound means the seal isn't tight - reposition and try again. A stick gauge will push out a calibrated bar; a digital gauge will display a number. Read the PSI immediately.
Add or release air as needed
Compare your reading to the recommended PSI on the door jamb sticker.
- Too low: Attach your air source to the valve stem and add air in short bursts, rechecking frequently. It's easy to overshoot.
- Too high: Use the small pin on the back of most gauges - or a pen cap - to depress the center pin inside the valve stem and release short bursts of air. Recheck after each release.
Aim to land within 1-2 PSI of the target figure.
Replace the valve cap and repeat for all tires
Screw the valve cap back on finger-tight - no tools needed. Move to each remaining tire and repeat steps 3-5. Don't skip the spare; a flat spare is useless in an emergency. Many spares, particularly compact temporary spares, require a higher PSI than regular tires - check the spare's door jamb listing or the spare itself for its specific target.
Monthly Checks Pay Off at the Pump
Tires lose roughly 1 PSI per month under normal conditions, and more in cold weather - pressure drops about 1 PSI for every 10°F decrease in temperature. Spending five minutes checking pressure monthly can meaningfully improve fuel economy over the course of a year. It's one of the cheapest maintenance habits available to any driver.
Keeping It a Habit
Most automotive organizations suggest checking tire pressure at least once a month and before any extended road trip. Temperature swings are the biggest cause of unexpected pressure changes - so the transition from summer to fall is a particularly important time to check all four tires and the spare. If your vehicle's TPMS light does come on, use a gauge to identify which tire is affected and by how much before driving to a shop or air pump.
Never Use Tire Sidewall PSI as Your Target
The maximum PSI stamped on the tire sidewall is the tire's structural pressure limit - not a recommendation for your vehicle. Inflating to that number can make tires dangerously stiff, reduce traction, and cause premature wear. Always use the vehicle manufacturer's recommended PSI from the door jamb sticker.
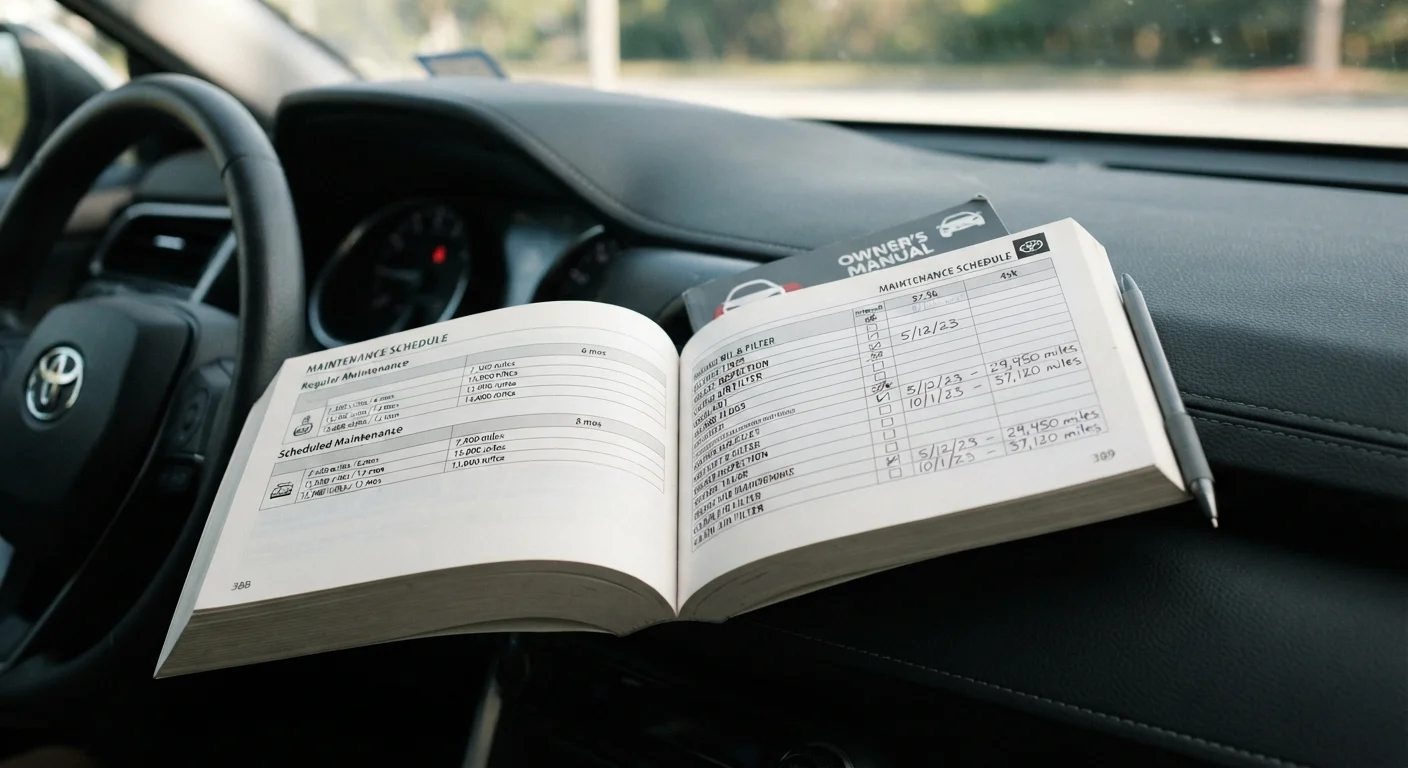
If you want to go deeper on what your car's maintenance schedule actually requires, the maintenance sections of your owner's manual are a practical starting point. And if your vehicle is due for a state inspection, understanding what an annual vehicle inspection actually checks can help you show up prepared rather than surprised.